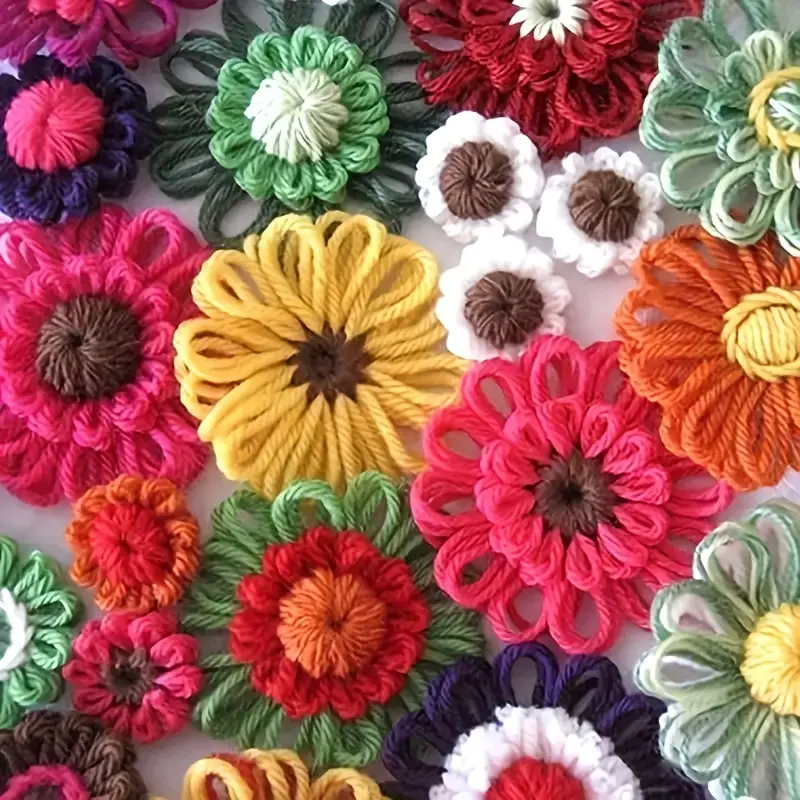
Crocheted candle-wick poppet flowers can be a fun and creative project!
Here's a simple guide to get you started.
Materials for the Crocheted Poppet Flower:
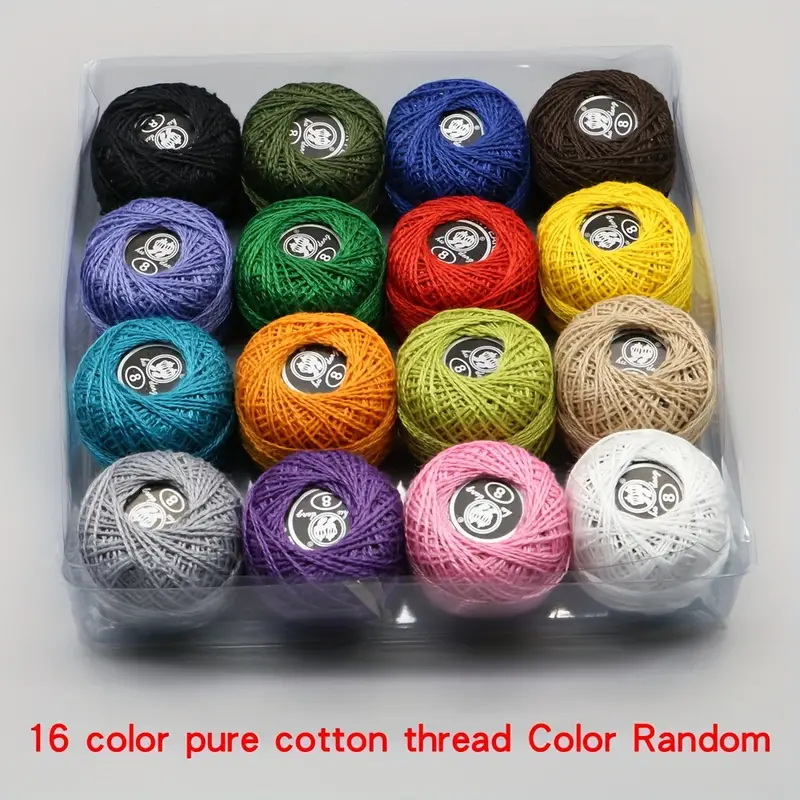
Yarn (any color you like for the flower)
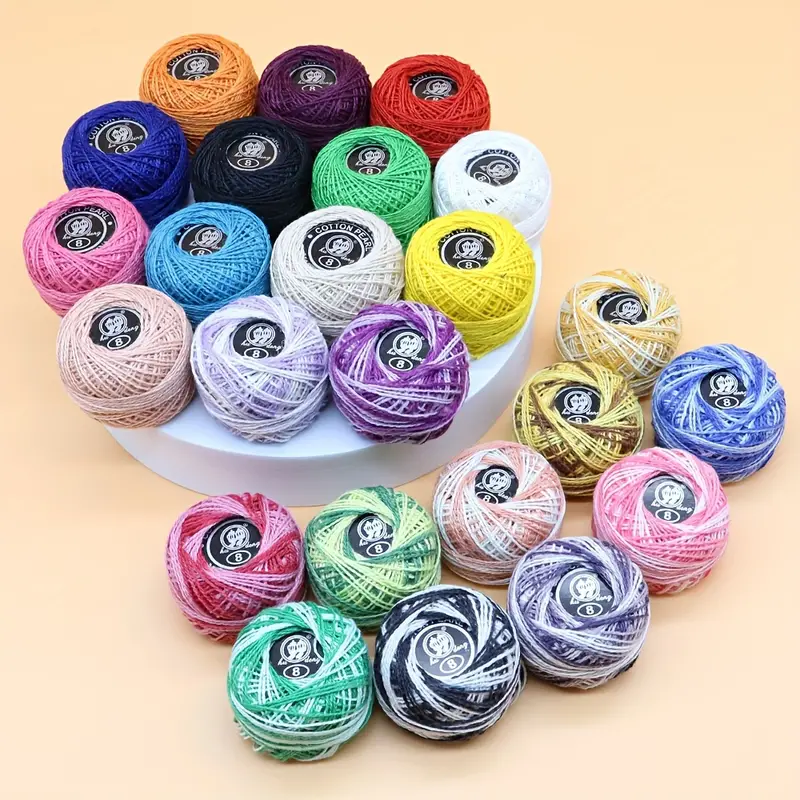
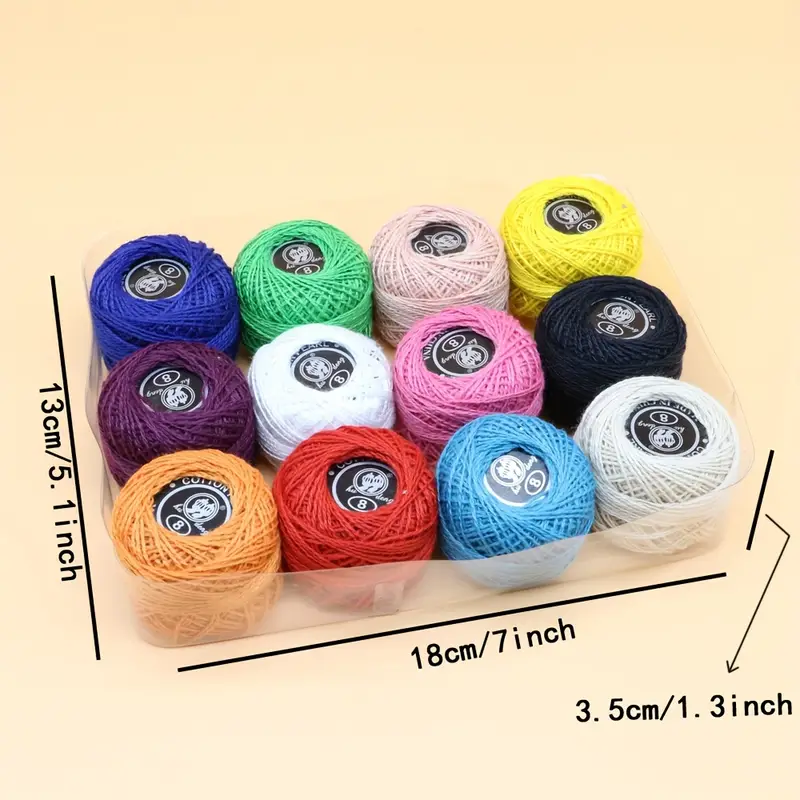
Thin embroidery yarn
Crochet hook (appropriate size for your yarn)
Scissors
Yarn needle (for weaving in ends)
Stuffing (if you want your poppet flower to be 3D and plush)
Abbreviations
ch - Chain Stitch
sl st - Slip Stitch
sc - Single Crochet
dc - Double Crochet
Instructions:
Create a Magic Ring:
Begin with a magic ring
First Round - Form the Flower's Center:
Chain 1 and work 12 single crochets into the magic ring.
Pull the ring tight to close.
Slip stitch to the first single crochet to join the round.
Second Round - Petals:
Chain 2, then in the next stitch, do 4 dc, 2 ch
2ch Slip stitch in the next stitch.
Repeat this petal pattern (2ch, 4 dc, 2 ch, slip stitch) all the way around. You should end up with 6 petals.
Slip stitch to the base of the first petal to finish the round.
Embroider the center with the candle-wicking colonial knot in a second color. This is optional
Make a Colonial Knot
Start by coming up through the fabric and then making a backward "C" around the needle with the working thread.
Bring the Work Thread Over and Under
Next, bring the working thread over and under the tip of the needle. The thread should look a bit like a figure eight.
Form the Knot
While holding the working thread taut, bring the needle and thread all the way through the fabric to form the knot. Work each Colonial knot the same way, keeping them tight and consistent.
Stuff and Finish (if making a plush crocheted poppet flower):
If making the flower 3D, make two sides of the flower as described, and then crochet them together by doing a round of single crochet along the edges while stuffing it gradually.
Weaving in Ends:
Use your yarn needle to weave in any loose ends.
You can modify the pattern for different shapes and sizes by playing with the number of petals, layers, and colors!




Comments