
How to Make Your Own Natural Soap
Creating your own natural soap can be a rewarding and enjoyable craft. Not only can you customize scents, colors, and shapes, but you can also ensure that the ingredients are natural and skin-friendly. Here’s a step-by-step guide to help you embark on this fragrant journey!

Why Make Natural Soap?
Control Over Ingredients: You can choose high-quality, natural ingredients that suit your skin type.
Customization: Tailor scents, colors, and shapes to your preferences or gifts.
Eco-Friendly: Reduce waste by using sustainable materials and avoiding plastic packaging.
Therapeutic Process: The process of making soap can be relaxing and fulfilling.
Ingredients and Materials
Base Ingredients:
Lye (sodium hydroxide): Essential for the saponification process (turning fats into soap).
Oils and Butters: Common choices include:
Olive oil
Coconut oil
Palm oil
Shea butter
Cocoa butter
Additives (optional):
Essential Oils: For fragrance (e.g., lavender, eucalyptus, tea tree).
Natural Colorants: Such as clay, activated charcoal, or plant powders (e.g., turmeric).
Botanicals: Dried herbs or flowers (e.g., lavender, rose petals).
Tools:
Safety goggles and gloves
Digital scale
Heat-resistant glass or plastic containers
Stick blender
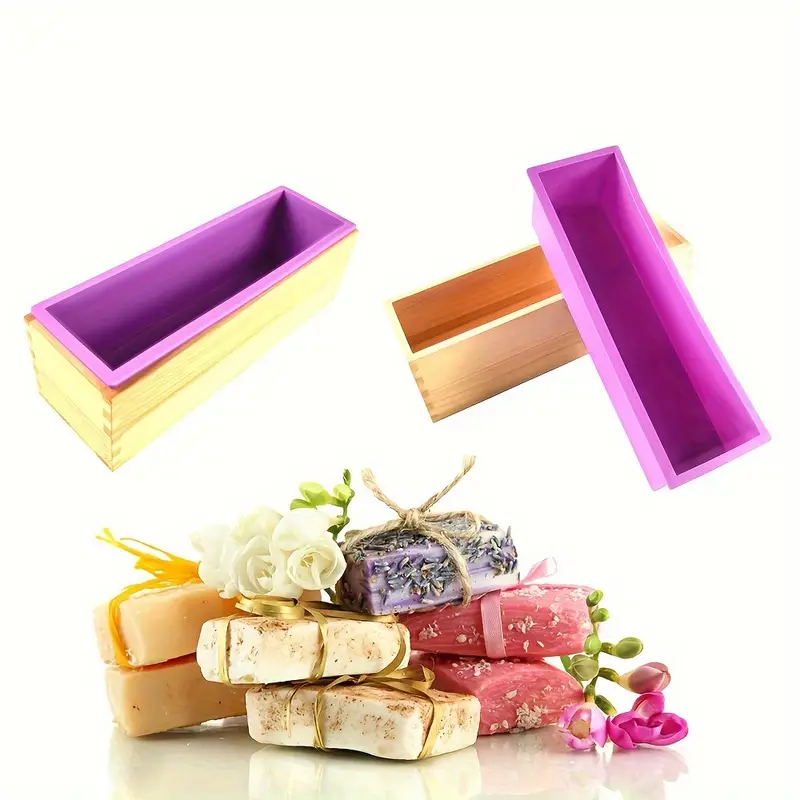
Soap mold (silicone molds or wooden boxes)
Thermometer
Measuring spoons
Spatula
Parchment paper (for lining molds)


Basic Cold Process Soap Recipe
Ingredients (for a small batch, about 1 pound):
3 oz. lye
8 oz. distilled water
8 oz. olive oil
4 oz. coconut oil
4 oz. palm oil
Essential oils (optional, about 1 oz.)
Instructions
Always wear safety goggles and gloves when working with lye. Work in a well-ventilated area.
Measure the lye and water separately using a digital scale.
Slowly add the lye to the water (never the other way around) and stir until dissolved. This mixture will heat up rapidly. Let it cool to about 100-110°F.
Weigh the oils and butters, then melt them together in a heat-safe container. Heat them gently until fully melted, then allow them to cool to the same temperature as the lye solution.
When both the lye solution and oils are around 100-110°F, slowly pour the lye solution into the oils. Use a stick blender to mix until it reaches trace (when the mixture thickens and leaves a trail when drizzled).
If desired, add essential oils and colorants at this stage. Blend gently until fully incorporated.
Pour the soap mixture into your mold. Tap it gently to remove any air bubbles.
Cover the mold with a towel to insulate it and let it sit for 24-48 hours until it hardens.
Once the soap is solid, carefully remove it from the mold and cut it into bars.
Place the bars on a rack to cure for 4-6 weeks. This allows excess water to evaporate and the soap to harden.
After curing, your natural soap is ready to use! Wrap it in eco-friendly packaging for gifting.
Tips for Success
If you’re new to soap making, start with a small batch to practice.
Look up various recipes and techniques to expand your skills.
Document your process and adjustments for future batches.
Always test a small patch of skin with your soap to ensure you don’t have an allergic reaction.
Conclusion
Making your natural soap can be a fun and satisfying hobby that results in beautiful, skin-friendly products. With just a few ingredients and a little patience, you can create a personalized soap that’s perfect for yourself or as a thoughtful gift. Dive into the world of soap-making and enjoy the creative process!
Comments